If you’re looking for ways to grill corn in foil, you are in the BEST place to learn how!
TheGrillingDad.com has got you covered (pun-intended) with a simple guide for foil-wrapped grilled corn!
In this guide you’re going to learn:
- All You Need to Know about Grilling Corn
- Supplies Needed to Grill Corn in Foil
- And more!
Jump to Section
What You Need to Know About Grilling Corn in Foil
First thing first – grilling corn in foil can be one of the easiest and most delicious ways to enjoy corn on the cob!
With very little prep needed, and arguably one of the simplest methods to fully season your corn without making a mess – grilling corn in foil is a must-try.
Grilling corn in foil is a quick, easy process, and can take about 10-15 minutes to cook. And the best way to grill corn in foil is to use indirect, medium heat.
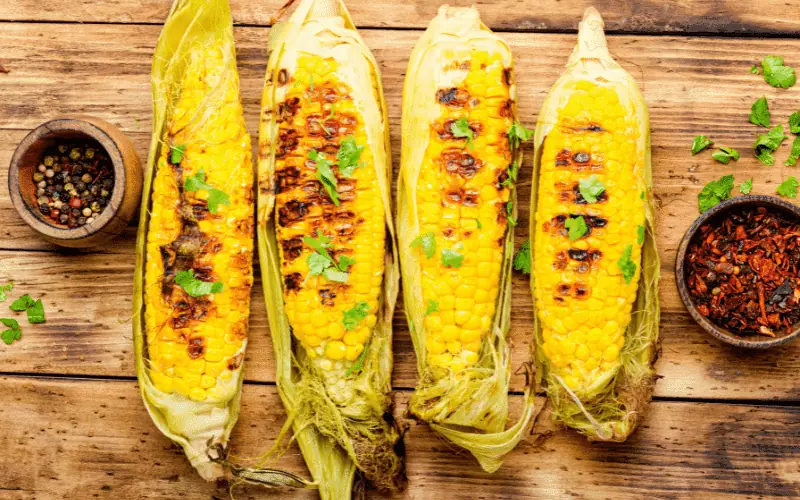
When your corn is done, the cob will be full of nice and plump kennels – which can be easily recognized by pulling back the foil and taking a look.
However, don’t stress too much about the timing, since corn is a low-maintenance food to grill, it’s okay if it goes a little bit over time.
Plus, grilling corn in foil can be a great way to ensure that it won’t burn on the grill!
The Supplies Needed to Grill Corn in Foil
There are 5 simple ingredients to grilling corn in foil.
- Fresh Corn
- Aluminum Foil
- Grill
- Ingredients of your choice (more info down below)
- Tongs
Fresh Corn
Fresh corn is ideally used over frozen corn when choosing to grill corn in foil.
There is a variety of corn to choose from such as white, yellow, or multi-color corn. Each type depends on your own personal preference.
Even though each type of corn may look visually different, white, yellow, and multi-color corn generally, all cook the same way and have similar tastes. Each type can vary slightly in taste, whereas an ear of yellow corn can taste sweeter, or juicier.
Aluminum Foil
Using heavy-duty foil is recommended for grilling corn in foil.
Reynold’s Wrap Heavy Duty Foil is always a great option, as it’s a heavy-duty aluminum foil, which will allow for the wrapped corn to steam inside, at a consistent good heat.
Aluminum foil is also a great choice because the malleable form will help you create the perfect corn packet of seasonings and flavor.
Grill
Arguably the most important part, the grill is definitely the must-have in this how-to!
We love gas grills, we love coal-fire grills – we love ALL grills here at the Grilling Dad.
Although this how-to guide reflects the use of a gas grill, your grill is your choice, and we’re here for whatever you choose.
Ingredients
Ingredients are based on what you like, and the taste or style of cooking you prefer!
Some popular choices when seasoning your corn (but definitely not limited to) are:
- Butter
- Garlic
- Onion
- Salt
- Pepper
- Brown Sugar
- Cajun Seasoning
- BBQ Seasoning
- Blackened Seasoning
- Cayenne Pepper
But the recipes are endless, as corn can be one the easiest ways to bring some diversity to your BBQ.
Tongs
Tongs are great to have on hand because that aluminum foil will heat up fast, and when the corn is cooked, you’re going to need tongs to remove it.
Related >> 7 Best Grill Tongs for Effortless Grilling
How to Grill Corn in Foil
Preheat Your Grill
Preheat your grill so that it’s hot and ready to go when you’re done with seasoning!
We recommend preheating the grill to about 350 degrees Fahrenheit.
Shuck the Corn – Get those husks off!
- Peel back all the outer leaves, exposing the top of the corn.
- With a firm grasp, and starting from the top of the leaves, pull the leaves down.
- Keep pulling until all the leaves are off and you are left with the leaves hanging from the silk.
- Break off the silk, as if you are trying to snap a branch in half, and the leaves should break off with it.
- Clean the corn for any left-over husk, and with that – you got yourself a shucked piece of corn!
Season and Prep Your Corn
While your grill is preheating, let’s start seasoning!
Super easy and simple. The best way to season the corn before you grill is to rip or cut a piece of foil that’s about 2 and ½ times the size of the cob.
Lay each cob on its own foil and then take your seasonings and butter or herbs and coat the corn with all the ingredients.
Wrap Your Corn with the Foil
Think packets, bows, or little tents.
First, fold both sides of the foil over the corn. Then, take the ends, and lightly squeeze each end to a close – if done correctly, each end will look like one part of a bow.
Start Cooking
Place your corn on the grill, evenly apart, and preferably in indirect heat. If you have a top shelf on your grill, use that!
Every few minutes, take your tongs and turn your corn on a new side, that way it cooks evenly.
We recommend these Grill Tongs. They are heavy-duty, extra-long, and stainless steel, which is perfect for withstanding higher temperatures.
And the scissor-like handle of these tongs is specifically designed to provide the perfect pressure with all types of meats and other foods for the grill.
Dig on in!
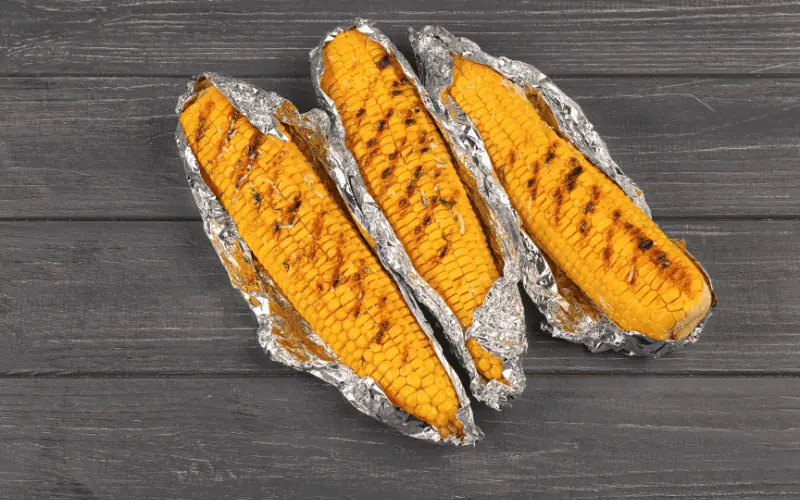
After about 15 minutes, check on your corn by pulling back the foil, and if you notice plump kennels – it’s done!
Carefully remove the corn with the tongs and unwrap when the foil cools down – then go on and dig in!
How Long Do You Grill Corn in Foil?
The general rule of thumb is to grill the corn on medium indirect heat, turning it over every few minutes to cook evenly.
Typically, it takes about 15 minutes for the corn to be fully cooked and ready to eat for a juicy, plump, and snappy corn on the cob.
However, if you’re looking for an ear of more charred corn, we recommend another way below.
How to Char Corn on the Grill
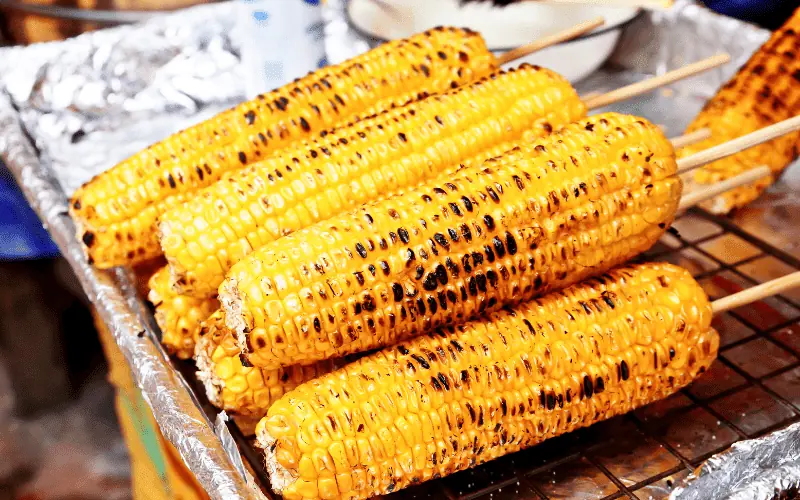
The rule of thumb with charring corn, and maybe the best-kept secret, is to grill the corn WITH the husks!
Grilling the corn, with the husk on, on the lower shelf, and on direct, high-heat, will cook the corn much differently than grilling corn with foil – it will char it.
Charring gives the corn a black coating that leaves a smokey, sweet, and more grilled flavor.
Once the corn husk starts to turn black, which will take about 20 minutes, take the corn off with the tongs, and let it cool for a few minutes. It’s important that the corn is cooled down, because you are going to have to shuck the corn after it’s cooked.
Shucking the corn after it is cooked is a bit more difficult than if it wasn’t cooked, however, follow the same guideline from step 2 above to shuck it perfectly!
Once you shuck the corn – it’s time to enjoy it! Add some chipotle mayo, or some extra seasoning once it’s done grilling, for an extra, delicious charred corn-on-the-cob!
Related >> How to Grill Onions
Easy Recipe for Grilling Corn in Foil
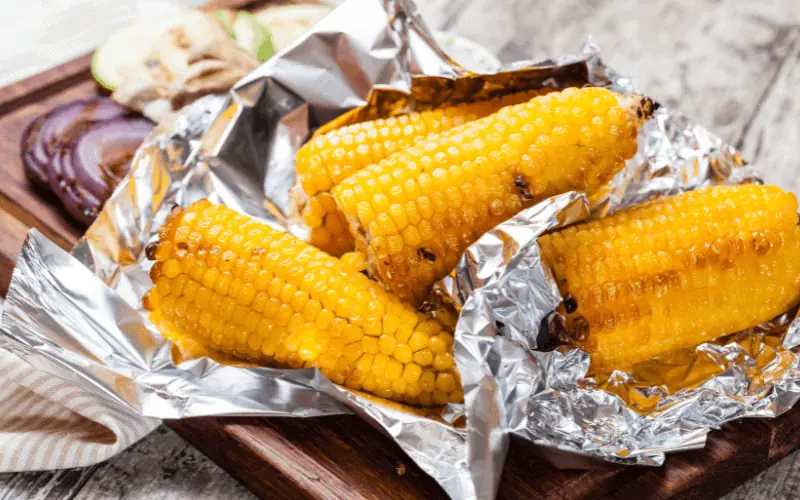
If you’re looking for an absolute fool-proof recipe for the most amazing, and authentic grilled corn on the cob – you’re looking at needing 4 ingredients, tops.
Butter. Garlic. Salt. Pepper.
Take your foil, place your corn, and then take the garlic, salt, and pepper, and coat the cob with it.
Take a pat of butter and place it on top of the corn and wrap with the foil.
Throw it on the grill, and in 15 minutes, enjoy an amazing, buttery, garlic corn on the cob!
Do I Have to Boil My Corn Before Grilling?
There’s an endless debate on whether you need to boil your corn before grilling, and it typically comes down to preference, for the most part.
Why You Shouldn’t Boil Corn Before Grilling
To start, one of the main reasons why you shouldn’t boil corn is that it actually takes all the nutritional value out of the corn and leaves it all in the boiling water.
Another reason to not boil corn is that it won’t give you that freshly grilled on the BBQ taste, if that’s what you’re looking for.
Fun Fact: Speaking of nutrients, White and Yellow Corn have a minor difference, and it’s that the yellow of yellow corn color actually turns into Vitamin A! So, when comparing which type of corn is healthier, yellow corn provides more nutritional value, although very slightly.
Why You May Want to Boil Corn Before Grilling
Some reasons to boil corn would be that boiling corn before grilling is said to keep the corn sweet and tender, and also, it’s a great way to ensure that the corn is fully cooked.
Boiling corn also means that less time is needed on the grill for cooking, since boiling the water already cooked the corn. In this case, the grill would solely be used to give the corn that authentically grilled flavor.
If you are a new griller, or not confident with your grilling technique (even after reading this article), boiling corn before grilling is also a way to ensure that the corn won’t be dried out.
Another reason to boil corn before grilling would be simply if it’s frozen before. If you have frozen corn-on-the-cob, letting it defrost for a bit, and then boiling it, will give it a fresh taste.
Final Thoughts on Grilled Corn
Grilling corn with foil can be an easy, reliable, quick, and delicious way to make corn on the cob. No matter the style of corn you like or the flavor of ingredients – there is a way to grill corn in foil for you!

Ingredients
Equipment
Method
- Preheat your grill to medium-high heat, about 350 degrees
- Shuck the corn by peeling back all the outer leaves, exposing the top of the corn.
- Rip or cut pieces of foil that are about 2.5 times the size of the ears of corn, and lay each ear of corn on it's own piece of foil.
- Melt the butter in a microwave-safe dish.
- Add your seasonings to the butter and stir to mix evenly.
- Brush or pour the seasoned butter on each ear of corn covering all sides evenly.
- Fold both sides of the foil over the corn. Then, take the ends, and lightly squeeze each end to a close
- Place your corn on the grill, spaced evenly apart, and preferably in indirect heat.
- Every few minutes, turn each corn to a new side so it cooks evenly.
- After about 15 minutes, check on your corn by pulling back the foil, and if you notice plump kennels – it’s done!
- Serve and enjoy!
