Have you heard about dry brining? Want to know why it’s a thing and how to do it? Well, you’re in the right place!
Brining keeps a turkey tender and moist while cooking and will improve the taste of the final result. There are two ways to brine: dry and wet. Wet brining involves soaking the bird in a liquid mixture while dry brining only involves salt and seasonings. Dry brining is much easier to deal with and more space-effective. It is one of the best ways to ensure your turkey is tasty, even if you are inexperienced at making turkey!
The process of dry brining does a couple of things. It breaks down the proteins in the meat, allowing each bite to remain tender and moist. While the bird sits in the fridge, the brine pulls out moisture, permitting the salt to dissolve, mix itself with the turkey juices, and sink back into the meat… a surefire recipe for success!
Think that sounds like it could help improve your Thanksgiving? Then read on to learn the process and details.
Jump to Section
What You Need
Before you dry brine a turkey, you need all the ingredients. Yes, a turkey is critical, but there’s more than just the bird. Here’s what you need:
- A turkey (non-kosher and unseasoned)
- Kosher salt
- Paper towels
- Optional brown or white sugar
- Optional aromatics
- Optional herbs
- Turkey Rack
- Rimmed baking sheet
- Optional butter
- Instant-read thermometer
- Water
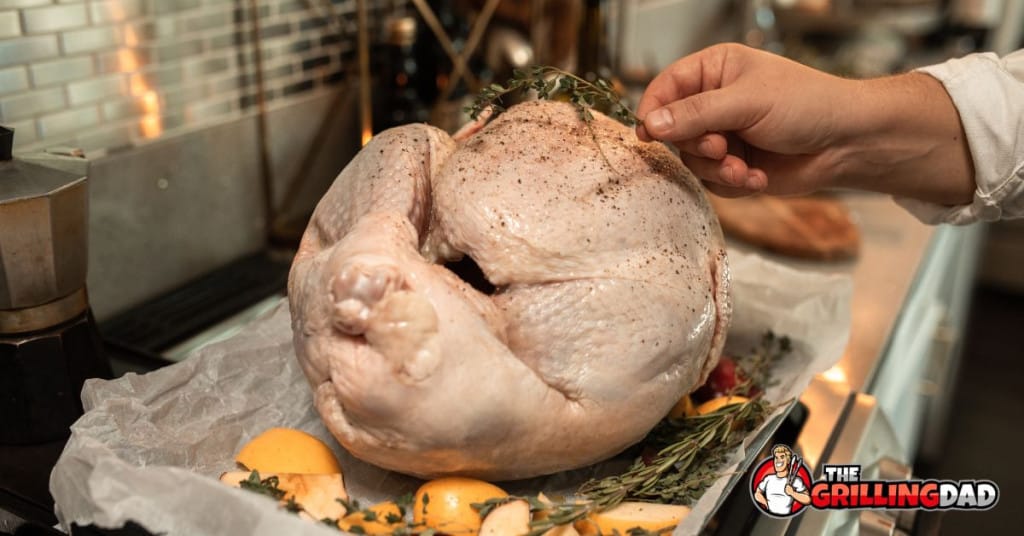
There are several optional items on this list. Brown or white sugar, aromatics, and herbs are all up to you, depending on the flavors you want for your turkey. Also, you could slather the bird in unsalted traditional or herbed butter for an even brown appearance and savory flavor. You might also stuff the bird with onions, oranges, or aromatics while it cooks.
Dry Brining Step-by-Step Process
It’s relatively straightforward and shouldn’t take too long to master, even if it’s your first time brining. BUT – before you brine – ensure you haven’t accidentally purchased a pre-brined bird. If you brine a pre-brined turkey, you’ll have the saltiest, driest meat you’ve ever eaten!
1. Pat the Turkey Dry
Start the salting process at least one to three days before cooking the bird. Take the giblets out from the interior. Then, using paper towels, pat the bird dry on the inside and outside. Removing any residual liquid before salting the meat is important because if there’s any residual liquid, the salt might dissolve before it sinks into the meat.
If you have a frozen or partially frozen turkey, let it thaw partially before patting it dry. It typically takes 1-2 days for a frozen turkey to partially thaw, but you can speed up the process by rinsing the meat under cold water until it’s movable. Then, remove the giblets and continue with the drying process.
2. Cover the Turkey in Salt
Next, it’s time to cover the turkey in kosher salt. Using kosher salt is helpful because the larger crystals spread more evenly and absorb liquids better. Be careful though, kosher salts can be different based on the brand – you’ll need about 1-1.5 teaspoons of Morton kosher salt per turkey pound or 2-2.5 teaspoons of Diamond Crystal kosher salt per turkey pound.
Rub the salt all over.
If you want sweeter skin and a golden hue, add brown or white sugar during this step. Use roughly 1/4 the amount of sugar as salt. For example, a 20 pound turkey would require 20-30 teaspoons of Morton salt and 5-7 teaspoons of sugar.
Also consider adding aromatics to the rub, such as crushed red pepper, to bring out additional flavors.
3. Uncover the Turkey and Refrigerate
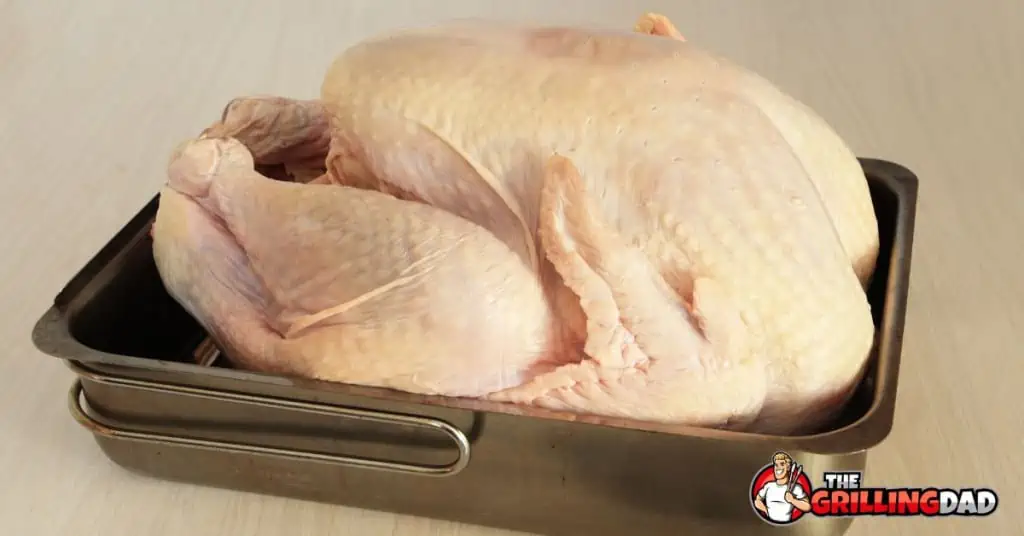
Once the seasoning is all over the turkey, it’s time to let the bird rest before you cook it. Set a rack on a rimmed baking sheet, then put your seasoned bird on top. Set the turkey in the fridge and leave it uncovered, allowing it to sit for at least an hour per pound. Try not to leave it there for longer than three days.
It might seem strange to leave the turkey uncovered, but it’s a helpful part of the drying process. Of course, you can always loosely cover the meat in plastic wrap if you don’t want the raw meat taking up your fridge space and touching other food.
4. Avoid Rinsing Your Turkey
After the right amount of time has passed, remove the bird from the fridge. Whatever you do, don’t rinse the meat! There shouldn’t be any seasoning left on the outside because it all should have soaked in. Also, rinsing will make it much harder to obtain a delicious crispy skin during cooking.
If you have the time, let the turkey sit out before cooking it. About an hour is ideal. Put the meat in the pan, breast side up, and set it to the side while the oven preheats.

5. Cook the Turkey
Finally, it’s time to cook the turkey. There are a million ways to do so: you can deep-fry the meat, put it on the smoker (a Traeger perhaps?), or even use a sous vide machine to cook portions of the breast and beyond.
Some other turkey-cooking tips I recommend: coating in butter (whether regular unsalted or filled with herbs), stuffing with oranges and other aromatics (put them inside the cavity before you tie the legs together), and adding a little water and more aromatics to the dish the turkey cooks in (to boost flavor).
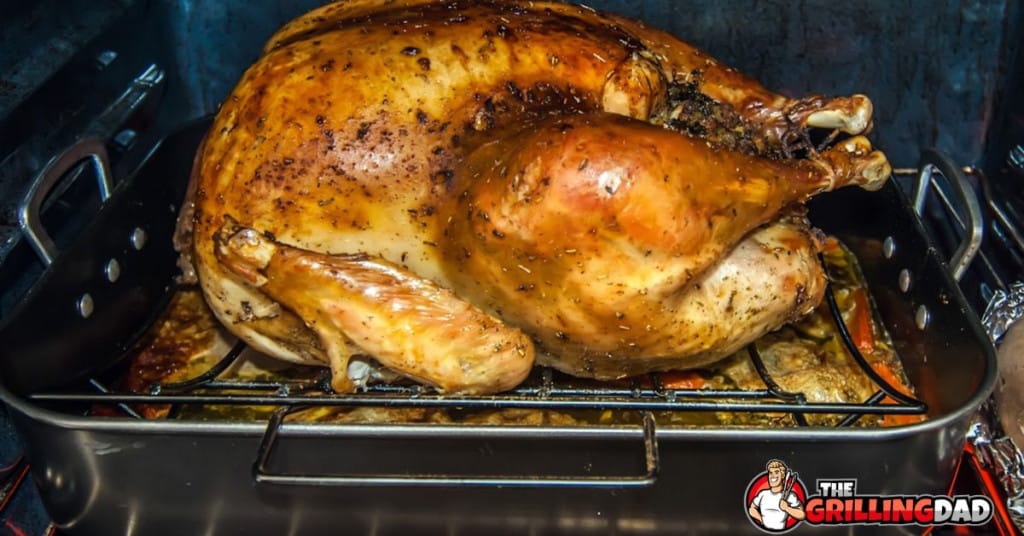
Typically, you need to cook the turkey at 350 degrees Fahrenheit for about thirteen minutes per pound. It can take up to five hours for the bird to cook, but it’ll be worth it in the end!
Use an instant thermometer to check the bird until it’s 165 degrees Fahrenheit. Once it’s done, take it out and let it sit for about half an hour before you carve and serve the tasty meat.
So, Why Dry Brine A Turkey?
Dry brining is an excellent way to handle a turkey because it’s very user-friendly. Anyone can do it, from beginners to those who have extensive experience brining turkeys. With a dry brine, you won’t encounter the disastrous issues that can appear in other brining methods if you don’t know what you’re doing.
Dry brining provides ultra-crispy skin for those who like a good crunch on their meat. The skin will dry out perfectly in the fridge, and the turkey can better take on seasonings as it rests.

Which Is Better: Wet or Dry Brine?
Dry brine and wet brine options each have their advantages. However, there are some differences depending on who you are and what you’re cooking.
If you’re worried about space, a dry brine is better because it only requires the turkey to sit inside your kitchen. A wet brine needs an entire pot to go in your fridge along with the turkey.
If you’re looking for a better flavor, a dry brine is better. It allows the seasoning to soak right into the meat. But if you prefer moist turkey, a wet brine will keep more liquid inside.
If you don’t like working with strange liquids, try a dry brine. A wet brine means you work with a gross soup of turkey juices.
Generally, dry brine is much easier to deal with and more space-effective. However, if you’re brave and want a moist turkey, a wet brine can be a fun adventure.

How Far In Advance Should You Dry Brine a Turkey?
If you want to dry brine a turkey, you need to do it with plenty of time before cooking so that the salts and seasonings work into the meat. So I recommend salting at least twenty-four hours before cooking to ensure the turkey comes out correctly.
More Turkey Tips
Hopefully, now you know all the details for dry brining a turkey and are ready to give it a try this holiday season! If you have more turkey-cooking questions, check out these other helpful articles:
- What’s the best temp to smoke a turkey?
- How long to rest a turkey before carving it
- Is Turkey Done at 165° or 185°?
- How to reheat turkey
- How long can turkey last in the fridge?
You’ll be a pro in no time!


