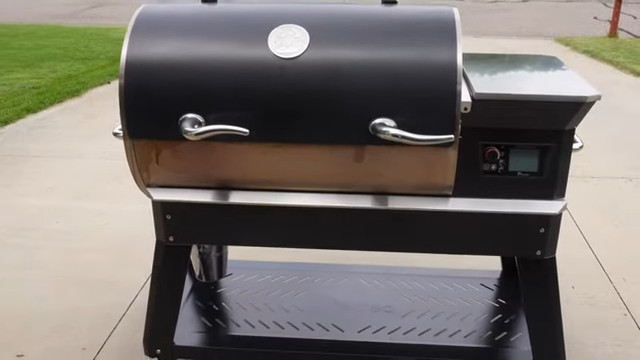
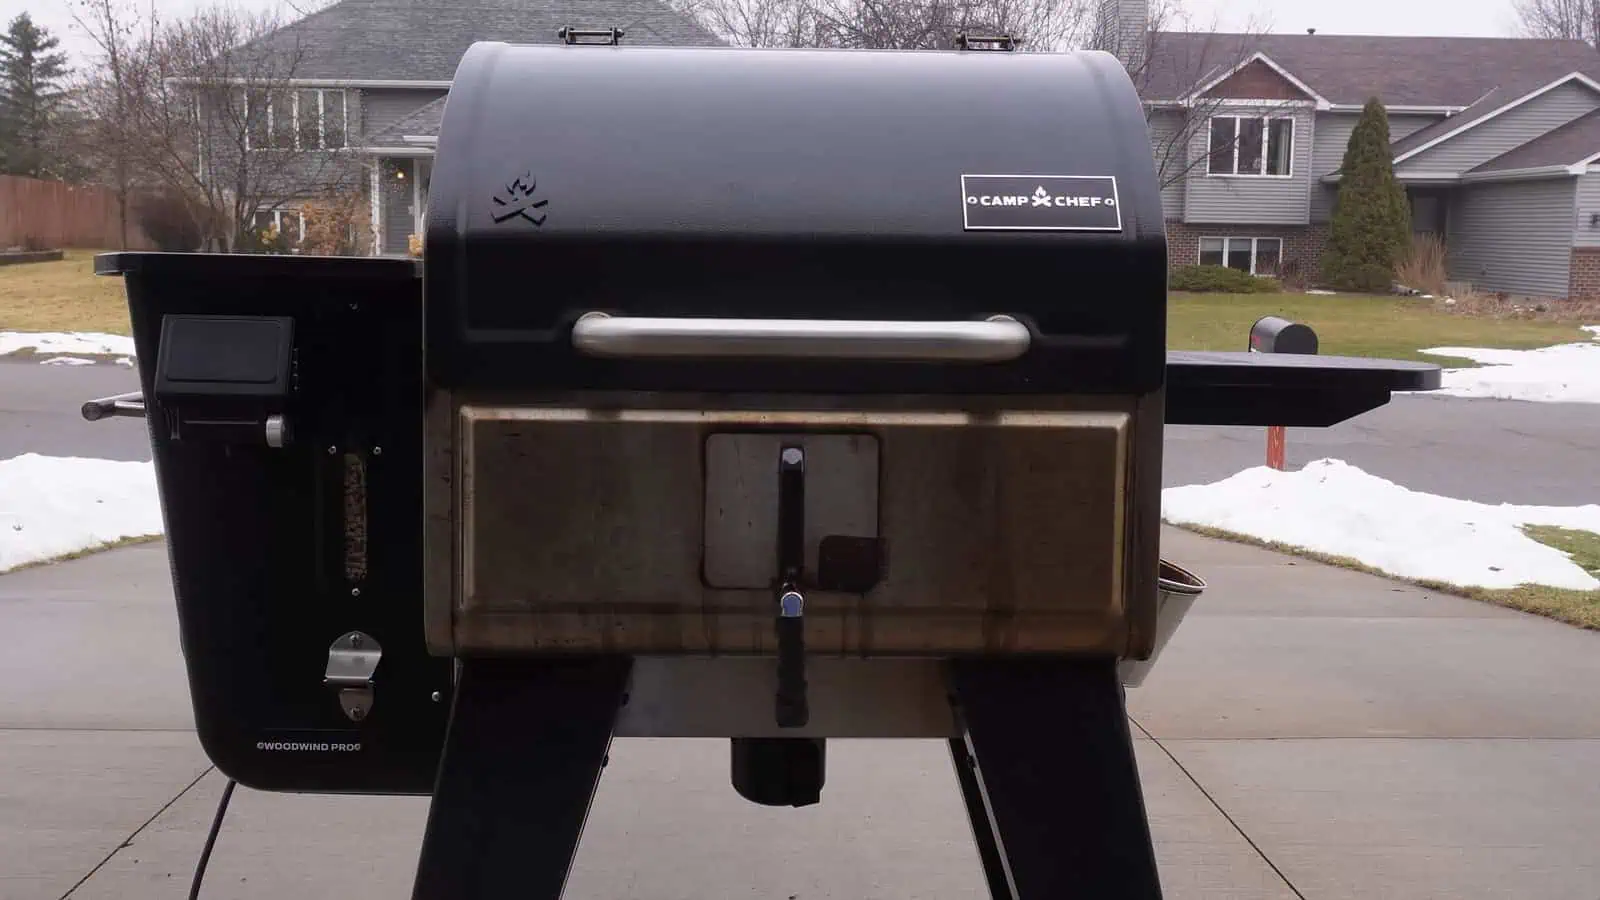
Are you looking to season your new smoker?
If so, you’re in the right place!
In this TheGrillingDad.com guide, you’ll learn:
- Why you need to season your smoker
- Supplies you’ll need
- How to season a smoker (5 easy steps)
- And much more!
Excited to start barbecuing your meats? Don’t get started just yet!
There’s one thing you should do before using your new smoker — season it.
No, I don’t mean put salt and pepper on it. I mean apply oil.
It’s what gives your smoker that classic black patina.
Seasoning forms a natural stick-resistant coating to prevent your smoker from rusting and is essential for that perfect finish.
Jump to Section
What You Need To Know About Seasoning A Smoker?
Is it really necessary? The answer is — yes, it’s vital.
Here are the two main reasons why:
- To Remove Manufacturing Debris
- To Prevent Rust
To Remove Manufacturing Debris
Taking your new smoker out of the box will give you such a thrill that you’ll want to use it right away.
However, having been unused before, your smoker still has unwanted debris on it.
This debris includes uncured paint, dust, adhesives, metal shavings, oils, and who knows what more is left from the manufacturing process.
Seasoning your smoker will burn and remove these things, saving you from undesirable odors and tastes in your food, as well as dangerous and toxic contaminants.
To Prevent Rust
Seasoning is basically oil being baked onto the surface of your smoker.
It acts as a protective barrier between your smoker and the elements that cause rusting.
Seasoning also helps to cure the paint in the smoker, which also prevents rust.
Do You Need To Season The Outside Of Your Smoker Or Grill?
No, you do not need to season the outside of your smoker. You only need to season the interior of your smoker or grill.
How Often Do You Need To Season Your Smoker?
You only need to season your smoker one time, which is when it’s brand new.
The whole process will take a few hours, but you’ll never have to season your smoker again.
Read More >> How To Put Out A Charcoal Grill (3 Quick and Easy Steps)

Supplies You’ll Need To Season A Smoker?
Keeping the importance of seasoning in mind, here’s everything you’ll need to properly season your smoker.
- Oil: Go for oils with a high smoke point like canola, peanut, sunflower, grapeseed, etc. A full list is below.
- Soft cloth: You’ll use this to wipe the oil on the interior of the smoker.
- Wood or charcoal: An amount that’s enough for 2-3 hours of cooking time.
- Mild soap and water: For cleaning and removing present oils, dirt, and other debris.
What is the best type of oil to season a smoker?
- Canola oil
- Grapeseed oil
- Peanut oil
- Vegetable oil
- Sesame oil
- Gold ol’ bacon grease
- Cooking Spray
Whatever oil you decide to use, use something that has a high burn point.
Read More >> Best Lump Charcoal for Smoking
How To Season A Smoker (5 Easy Steps)
Now that you’ve gathered the right supplies, here’s a detailed step guide on how exactly to season your smoker.
1. Cleaning
2. Air Dry
3. Apply Oil
4. Heat The Smoker
5. Cool Down
Step 1: Cleaning
This will remove any leftover manufacturing grime.
This is like laying a strong foundation for great barbecuing, so be sure to clean it well.
Take out the racks, grates and pans, and other removable parts and clean them with mild soap and water.
Give the interior a good wash as well, and rinse everything thoroughly.
Step 2: Air Dry
After everything is cleaned, let it all air dry.
Leave assembling the parts to later to make the next step a lot easier.
Step 3: Apply Oil
Using the oil of your choice and your soft cloth, coat the interior of your smoker.
Do this for the racks and grates as well.
With your smoker unassembled, it will be easier for you to wipe little and hard-to-reach surfaces.
You only need to apply a thin layer of oil.
If the oil is dripping, you’re doing it wrong.
If you have a can of cooking spray, you can also use this to simply spray oil onto the surfaces.
Note: Be sure to cover every nook and cranny!
Once everything’s covered, assemble your smoker.
Step 4: Heat The Smoker
Now it’s time to get smoking!
Put the water pan in its place, but leave it empty.
Fill the smoker with your wood or charcoal, and light it.
The idea is to let it heat up and complete a cooking cycle. This will ensure any chemicals or solvents left from manufacturing will burn off.
Run the smoker for 2-3 hours.
Make sure all intake and exhaust vents are open to allow maximum airflow. The temperature should be higher than the normal cooking temperature for the best results.
Aim for a high temperature at or above 400ºF.
For gas and electric smokers, set the temperature to max.
Note: Pick the same type of wood that you’ll be using when you’re actually cooking.
Read More >> Best Woods For Smoking Chicken
Step 5: Cool Down
Open the lid to see if you’ve achieved a good protective layer.
The interior should have a dark brown color. If so, allow the smoker to cool down and remove the ashes.
Read More >> How To Use A Charcoal Smoker (7 Step Guide)
Final Thoughts On Seasoning Your Smoker
And that’s it, you’re all ready to barbecue!
This may take a little extra time and effort on your part, but seasoning your smoker will certainly pay off.
Seasoning will extend the life of your smoker for years to come and will allow you to achieve great smoking results.
Who would want their meat sticking to the grill? I wouldn’t.
Of course, everyone wants their barbecue to come out rust-free, picture-perfect, and rich in flavor. That all starts with a solid seasoning of your smoker.
What are you waiting for? Get seasoning!
And if you’re seasoning an electric smoker, check out our guide here.
Want to learn more about grilling? Check out these helpful resources!